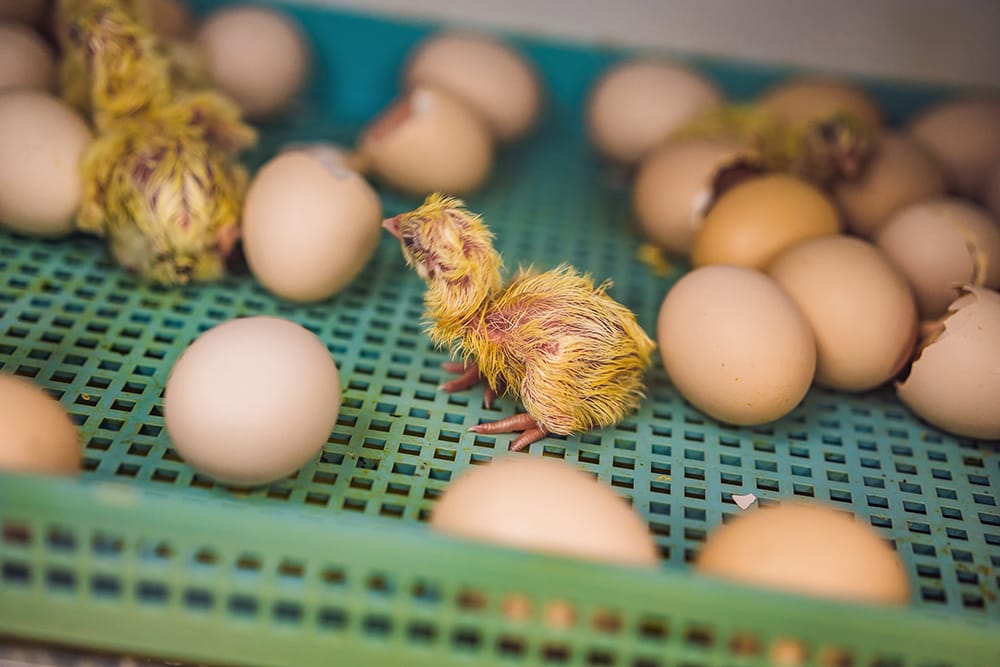
Hatching eggs under the red light lamp
Incubating eggs under the red light lamp: general tips
Incubating bird eggs under the red light lamp is successful in 60% of all attempts. Due to the relatively high risk to the brood, eggs should only be incubated in an emergency, for example if the mother bird has died. If you succeed in incubating the eggs with care and patience, resulting in the hatching of baby birds, it is a touching and very rewarding moment.

Regardless of the bird species, the same guidelines apply to the hatching of bird eggs:
1. mark both sides of each egg with a pencil so that you know which side is on top. For example, you can mark the top side with 1 and the bottom side with 2.
2. place the eggs in a sealable container on a soft surface so that the temperature and humidity are maintained for longer. The temperature should be kept as constant as possible at 37.5 degrees and the humidity at 50% using the red light lamp. During the last days of the incubation period, the humidity should be increased to 70%. The incubation period for a hen's egg is approximately 21 days.
3. the eggs should be placed on the base with the wider side slightly raised and the more pointed side slightly downwards.
4. turn the eggs at least three times a day. During the last few days, the eggs are no longer turned.
5. hold the eggs individually in front of a bright light every 2-3 days. This allows you to observe the development of the young birds. After just a few days you should be able to recognise a dark mass inside the egg. If nothing can be seen after two weeks, the egg has not been successfully fertilised and no bird will hatch.
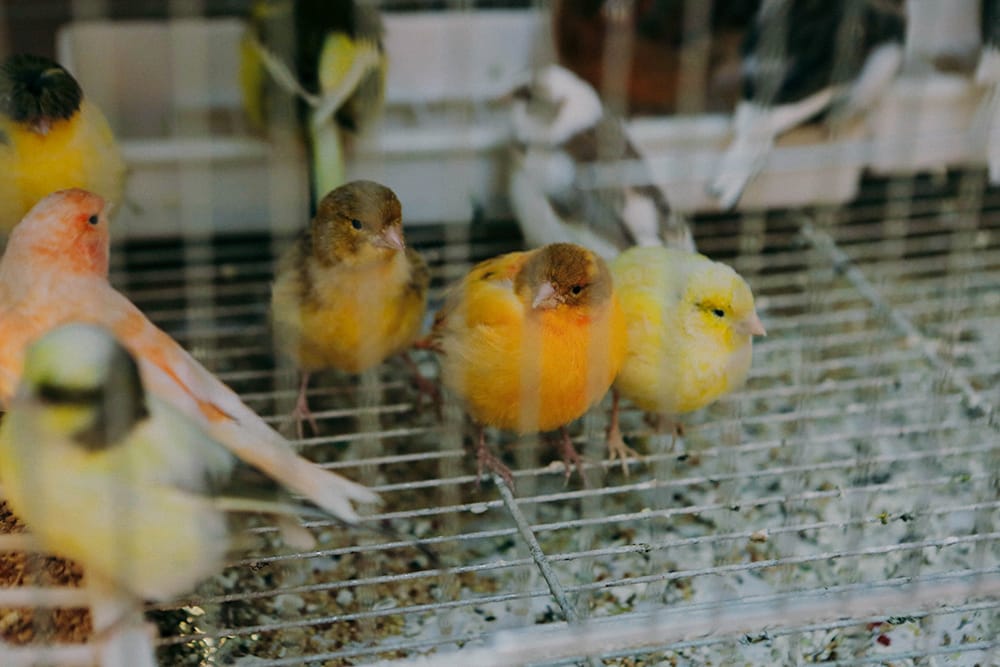
Is it advisable to breed birds yourself?
Breeding birds under heat lamps is a common practice among bird breeders, hobbyists and farmers. Heat lamps provide newly hatched chicks with a source of warmth that is essential for their growth and survival. However, incubating eggs under a red light lamp requires careful planning, monitoring and maintenance to ensure the well-being of the birds.
First and foremost, it is crucial to choose the right heat lamp for your breeding setup. The type of heat lamp you choose will depend on the size of the breeding area, the number of birds you want to breed and the temperature requirements of the species you want to breed. For example, if you are breeding quail, you may need a heat lamp with a lower wattage than if you are breeding chickens. It is also important to choose a heat lamp with a reliable temperature control system to avoid overheating or underheating.
Once you have selected the appropriate heat lamp, you must ensure that the incubation area is well ventilated to prevent the build-up of toxic vapours and excessive moisture. This can be achieved by using fans or keeping windows and doors open to allow fresh air to circulate. A well-ventilated brooding area also prevents the growth of harmful bacteria that can cause infections in the birds.
Next, we need to regularly monitor the temperature and humidity in the breeding area. A thermometer and hygrometer can help to keep an eye on these parameters. The ideal temperature for most bird species is between 32 and 37 degrees and the humidity should be around 50-60 %. You can adjust the temperature by raising or lowering the heat lamp or adding or removing insulation.
It is also crucial to provide the breeding birds with sufficient food and water. Newly hatched chicks need a special type of food that is rich in protein and other essential nutrients. You can buy commercial chick feed or make your own from a combination of grains, seeds and supplements. You should also provide fresh water in clean containers, preferably with a chick drinker to prevent drowning.
Incubating eggs under the red light lamp can be a challenge, especially for first-time breeders. It requires careful planning, monitoring and maintenance to ensure the well-being of the birds. However, with the right equipment, knowledge and commitment, incubating birds under heat lamps can be a rewarding experience that can result in healthy and thriving birds.